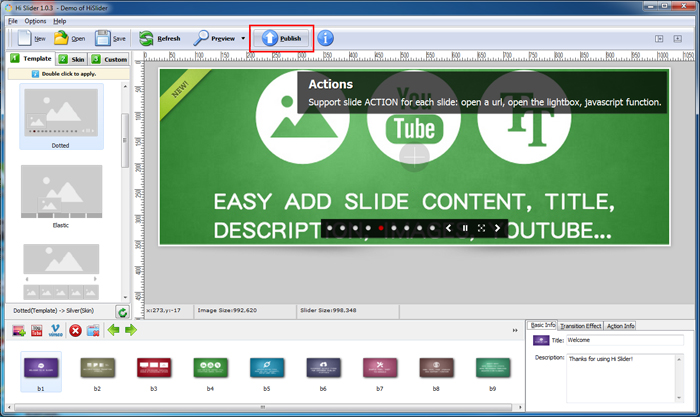
After all the settings are done, you can click the "Publish" button to enter Output Interface.
1. Basic version (HTML)
Choose this output type, and you can upload the output files to your server and publish the jQuery image slider to your website. You can define output path and file name for the output HTML file. Besides, you can change the folder names for Image Folder and JS Folder.
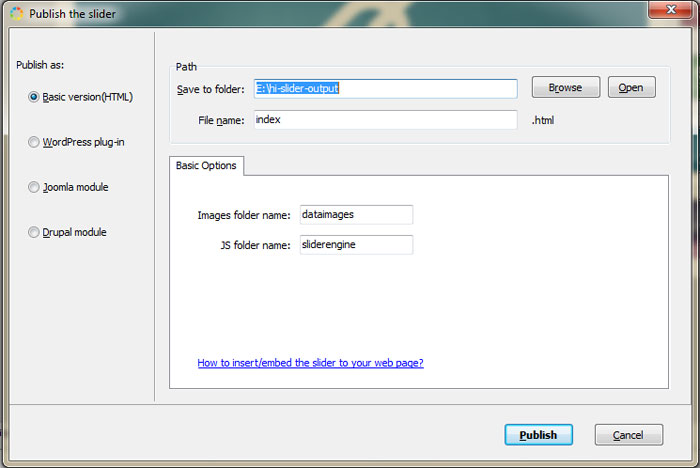
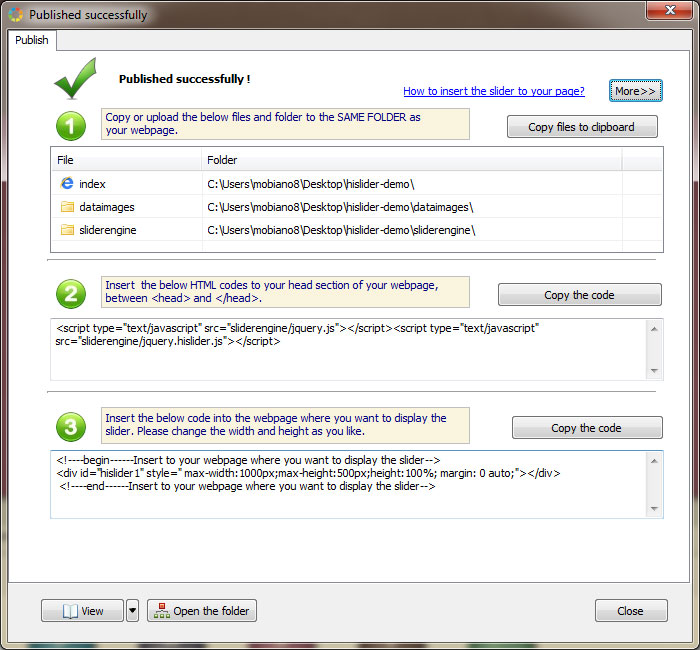
Then after you publish the slider, you will see the below interface, and you can follow the steps to insert the slider to your webpage.
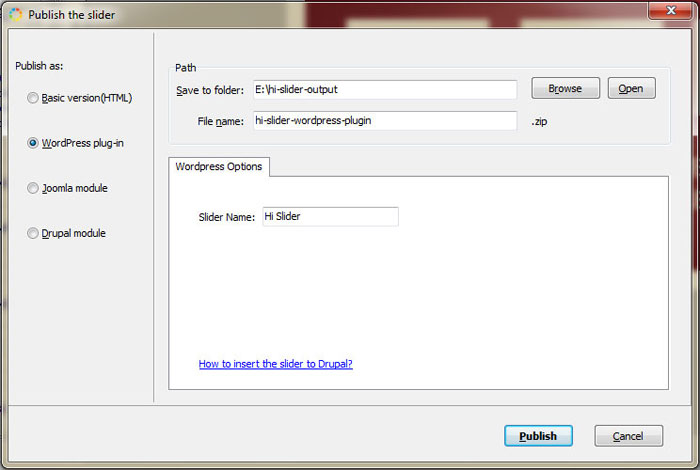
2. WordPress Plug-in
You can output the gallery slideshow as WordPress plug-in and embed it to your WordPress page. Just upload the output ZIP file and install it. For more info, you can refer to " How to insert the slider to WordPress?"
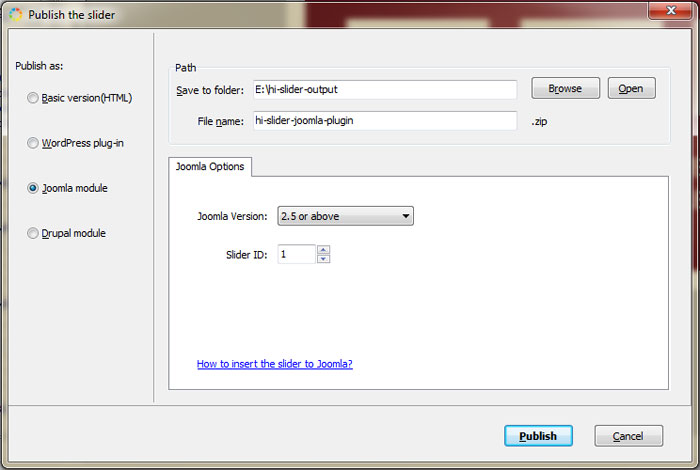
3. Joomla module
Choose to publish the slider as Joomla module and you can insert the JavaScript image slideshow to Joomla website with ease. Please note that you should select the Joomla version and the slider ID before you publish the slider because Joomla requires unique ID for each slider. More info on how to insert the slider to Joomla, you can refer to our FAQ by clicking the link in the output interface (How to insert the slider to Joomla?).
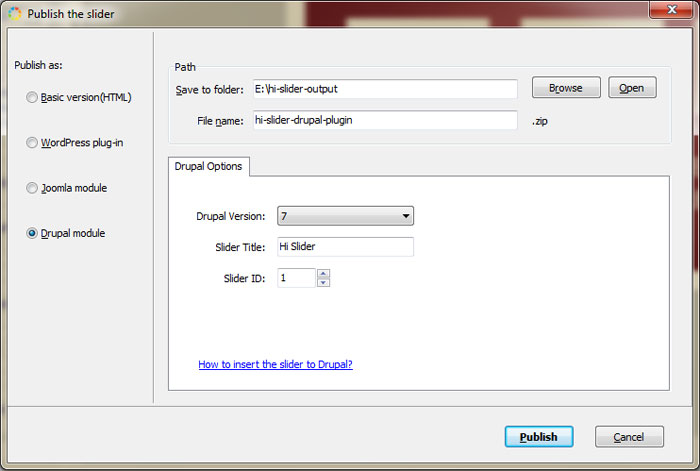
4. Drupal module
Choose Drupal module as output type and you can insert the slider to Drupal site. For more info, you can follow "How to insert the slider to Drupal".